What happens when you buy a $800+ in car* detailing supplies? Every car you own and your parents own look as good as they did coming off the car lot. And then you get bored with cleaning and detailing clean and detailed cars… So what do you do? Step up your game and get into ceramic coating.
What is ceramic coating?
AI staff contributor Ollama says:
“Ceramic coating on a car is a thin, clear layer of synthetic ceramic material that is applied to the paintwork to protect it from the elements and improve its appearance. It forms a hydrophobic (water-repelling) barrier that prevents water spots, makes cleaning easier, and reduces scratches by creating a slick surface. Ceramic coatings are often marketed as offering superior protection against UV rays, oxidation, and chemical damage, which can help maintain the car’s original finish and reduce maintenance needs over time.” Of course, I call it awesome.

Ceramic Coating vs. Wax and Sealants
Another way to put it is ceramic coating is a modern wax or sealant on steroids. I mean juiced up to be bigger than big, muscle beach muscle men, steroids. Like wax or sealants, a Ceramic coating is installed on a vehicle to make it glossy, easier to clean and protect. The difference is Ceramic coating is better in every way. It’s glossier than wax. It protects longer than wax, 3 – 10 years vs 2 -3 months, 4-6 months for a sealant or 3-6 for a spray on ceramic. I used to think it was snake oil, but now I’m a believer.
As recently as 5 years ago, ceramic coatings required professional installation. Some of the products were dangerous so people needed personal protection equipment. It could require curing under UV lights and have to keep the car inside for days and cost $1,500+ to have done. Now, there are good, quality ceramic coatings that are affordable and easy to install yourself. See where I’m going?
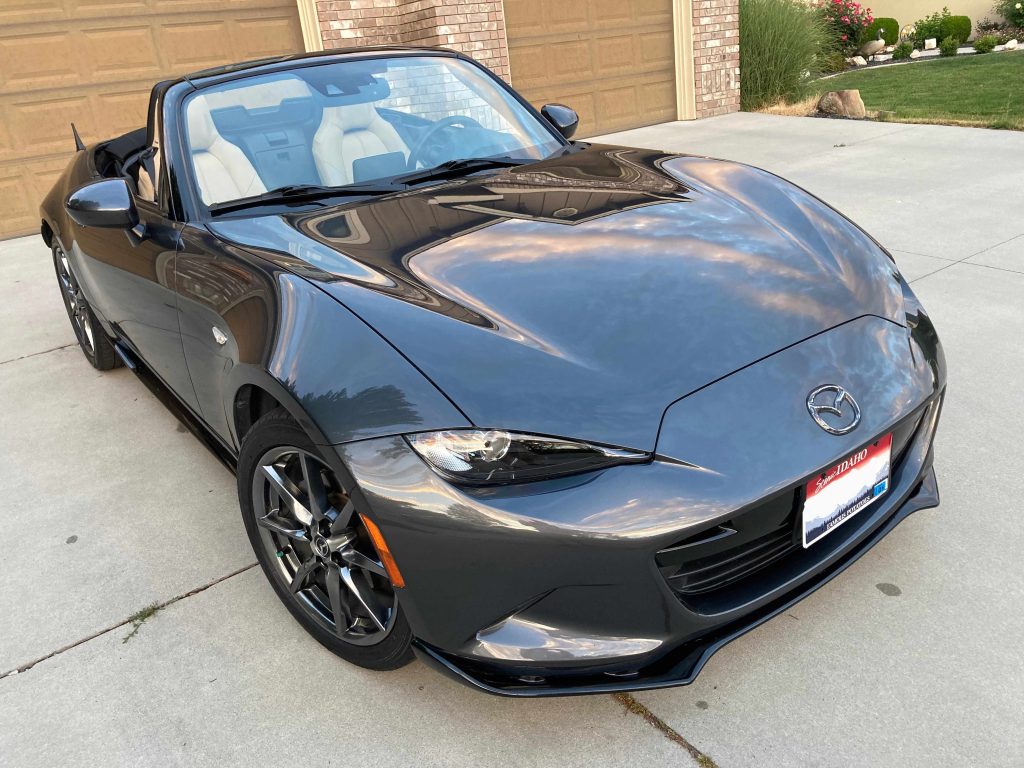
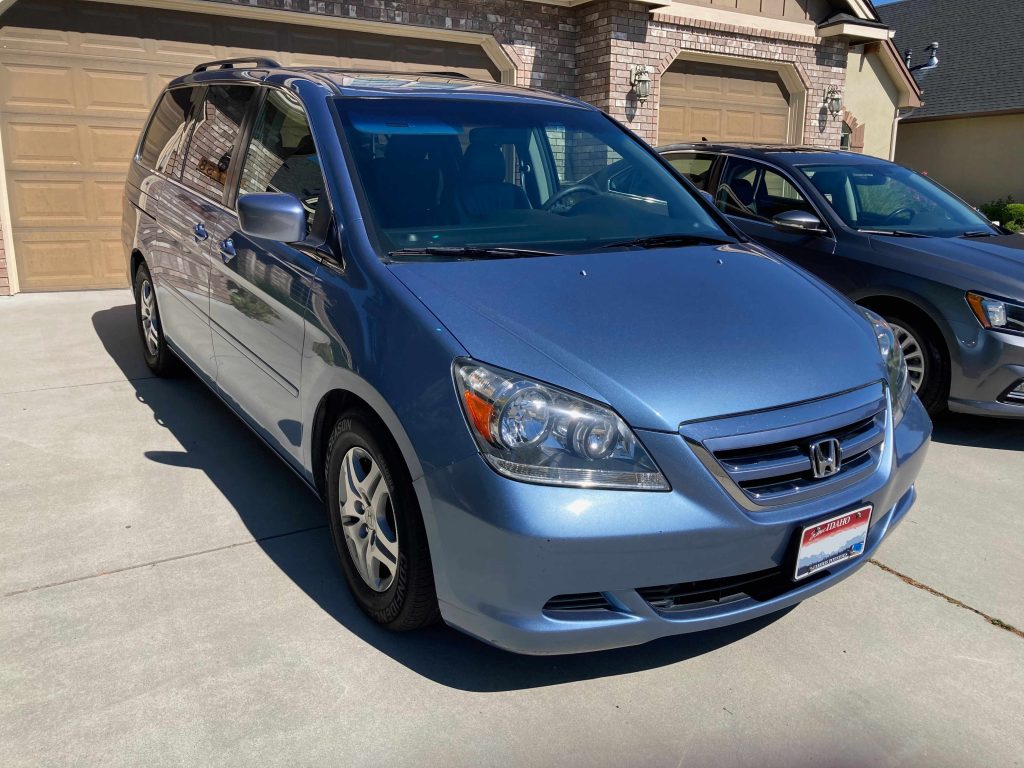
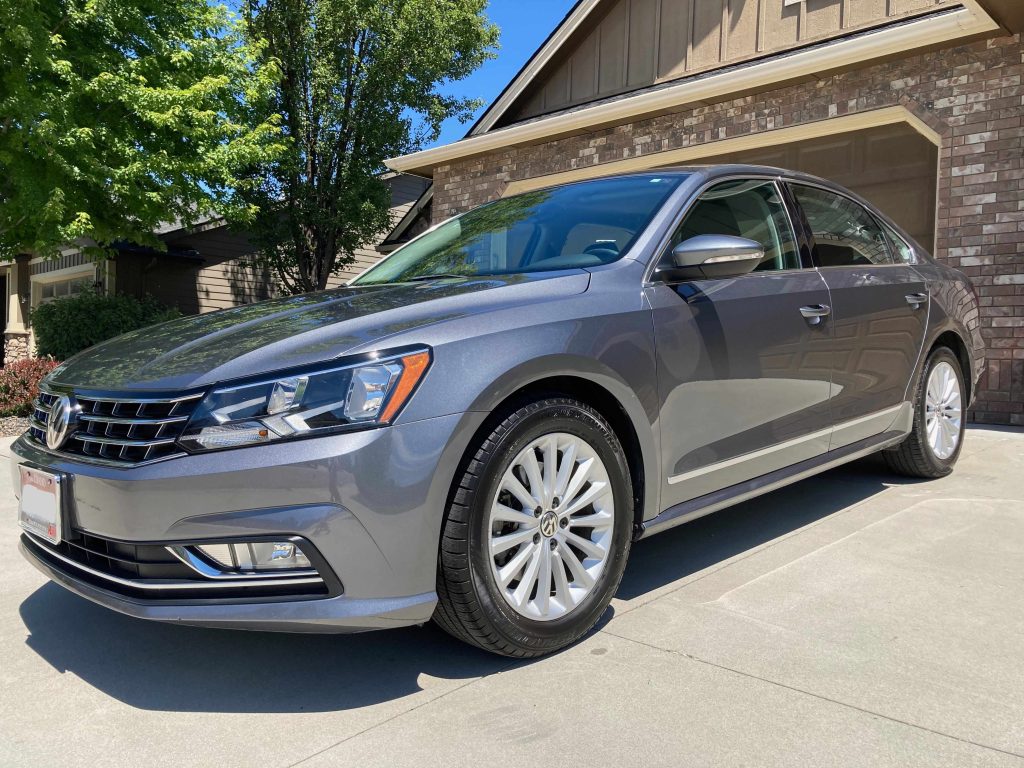
I now have a ceramic coated 2016 Mazda Mx-5 / Miata. A 2016 VW Passat. And a ceramic coated 2005 Honda Odyssey Mini-van. Yup a 19 year old mini-van has “The Stack.” More on that later.

Ceramic Coating – DIY Detailers
My choice of product is still DIY Detail, for the same reasons as before: DIY Detail YouTube videos are instructional and entertaining Their products are a touch expensive, but do exactly what they show on YT. After watching many hours of many different detailing channels, most of what I’ve learned and use come from Ivan and Nick.
It’s all in the prep work
So how did I make the jump from a making showroom finish shine to something that makes a 19 year old minivan glow? I’m glad you asked. If you didn’t ask, feel free to go find a good article on raspberry pi’s or general IT stuff on the site, it’s all good.
The whole trick is in the prep work and having the right tools (real hobbies cost real money). The paint should look as great as it reasonably can based on the original condition, time, energy and tools you have. Notice I didn’t say perfect, but great. The DIY Detail crew has a great spiel that goes into it, but suffice to say perfect is the enemy of good. Perfection takes the fun out of detailing, and most activities in general.
This doesn’t mean there isn’t a lot of time an energy to put into it. 2 people who have done it 10+ times can knock a car out in 3-4 hours. One guy who has never done it can take 10. or 12.
The steps:
- Pre wash the car
- Wash the car
Post wash- Decontaminate the car with iron remover and clay towel
- Water spot / mineral remover
- Paint correct, and or polish (1, 2 or 3 step correction, I do 1)
- Panel prep (get all the oils off of the car)
- Ceramic coat
That’s 6 times you get to touch every square inch of the car & ceramic coating took me about an hour of the process.
The process is fun. I took my time, did everything in the shade (wash, decon, water spot) and in the garage (polish, panel prep and ceramic coat) and hung out playing the Guardians of the Galaxy vol 1, 2 & 3 soundtracks.
Decontamination
Decontamination is interesting. The clay towel (decontamination towel) is used to spread the iron remover around and the iron remover is used as a lubricant. This pulls fo contamination that you can’t see but can feel. The surface goes from rough to smooth, to sounding “sratchy: to little to no sound at all. It’s MUCH easier than clay bar. Clay bar is a 2 square inch piece of putty you use to touch every inch of the car. A deacon towel is 4 square inches or 12x more surface area than a car. The towel glides over the surface with no pressure and removes contamination. The iron remover gets rid of contaminants as well like, iron.
Water spot removal isn’t interesting, but necessary. Spary it on, wipe it around, wash it off. The remover pulls all the minerals off the car so you aren’t having to polish them off or scratch the paint trying to polish it off.

Correction and Polish
Paint correction and polishing become interesting again. And nerve wracking to start. Am I going to make the paint better or worse? Am I going to remove too much clear coat? Ivan and Nick say with your system you really can’t (their stuff is pretty mild). And expensive. I went cheap and got a harbor freight polisher for $70. In the first 5 minutes a piece of metal flew off and made a dent in the wall. Surprised it didn’t hit the paint, or me. So off to Lowe’s for a $200 polisher I went. Then the pad was 20 and the compound was 30. But it was worth the look. And with 3 cars it’s only $85 a car, getting cheaper every car, lol.
When I was done with the paint correction, I couldn’t believe how good each car looked. As good or better when I bought them new (Odyssey and VW) or off the car lot (mx-5).
Once that was done, on to panel prep and ceramic coating. Panel prep is where you put an astringent (alcohol) and other stuff on to strip off the polishing compound and other oils, etc. This preps the panel. Again boring, but exciting because it is the last step before ceramic coating.
Coating… Finally
Ceramic coating comes in this little glass or aluminum bottle, like a airplane liquor bottle, but smaller. The DIY Detail system comes with a round foam applicator. You fire up the lights (more the better) put on gloves and put just a few drops of coating on the applicator Then start making small, little, methodical overlapping circles, swirling the ceramic coating onto the car. Every so often, 2 – 5 minutes, you go back and wipe the ceramic coating with two towels, gently gliding them on the surface. Not wiping off the excess, but evenly spreading it around, or leveling, knocking down any high spots and swirl marks you might have made. The first level, the second is “an insurance towel”. Insurance to assure you got all the coating leveled. Lighting is really important so you can see the liquid evaporate or “flash” off, which tells you when to wipe. I used 100 watt full spectrum LEDs in the ceiling with lamps positioned around the car so I could see well. Once you get going, you can tell by feel when you need to put more ceramic on the pad and when to wipe.
When the car is complete, give it an hour before driving, including in the rain, and 1 week before the first washing.
Once done, admire the work you’ve done. A beautiful, shiny, glossy, slick car under heavy lights, surrounded by a gawd awful mess. And if you want the “ultimate” in gloss and shine, then add a second coat of ceramic, called “The Stack”.
THE STACK
Everything you need for “The Stack” | CERAMIC COATING KIT
Stacking is basically combining either the 8 & 3 year or 5 & 3 year DYI Ceramic coatings. DIY Detail says if the 3 year is done within 2 – 8 hours of applying the first layer, the 8 or 5, then the two will bond together, forming a deeper, richer look with the same protective qualities as the 8 or 5 year on it’s own. I did 2 cars with the 3 / 5 year stack and 1 with just the 5 year and I’ll agree. While the 5 year on it’s own is phenomenal, the stack kicks it up, making the car almost look “in HDR” adding a depth and richness I couldn’t believe. And the slickness is unbelievable. My wife says it is now hard to close the minivan hatch because it is so slick and she now uses the handle, like she always should have.
So what’s it cost?
If you like washing and detailing your car and want to step up your game because everything is too clean and not a challenge anymore, ceramic coating is the bees knees. The coating itself is reasonable, $80 – $185 depending on the # of years, 3, 5 or 8 in the case of DIY Detailer. With their product you can do 2 cars per ceramic bottle. The supplies are a bit of a hit. In addition to what you’ve already spent in detailing supplies, the decontamination towel is $30, iron remover $25, water spot remover $15, polish $30, pad $20, panel prep $20. You can buy kits to save money, but you also end up with some duplicates, like panel prep. Then the piece de resistance, the polisher. About $70 to $300 easy, depending on quality and if it is cordless. After my experience with the $70 and the $200 units,, I’d go for a about $150.00, or a palm sander. DIY Detail says a sub $100 palm sander works, I found them at Harbor Freight, but the 5.5″ polishing were never in stock at DYI Detail so I went with a polisher with a 6″ backplate.
The supplies were good for all 3 cars, maybe even a 4th if I’d stretched them a bit, though you can also drop another $150 – $190 on a pad washer from Grit Guard or Lake Country Store. Not necessary but makes cleaning pads easier and not a chore.
How Long Does the Process Take
I gave myself full day to complete each car, 7 am to about 9 pm. This is because I’m new, slow, methodical and take a lot of breaks. Polishing when you are new and nervous (and without a pad washer) takes a ton of time, like 4-5 hours. I didn’t want a time crunch and race through the process. The experience is almost as important as the results. Grab a friend and speed things up, buy a second polisher and really speed things up easily cutting the process by more than half.
The process could be broken into two days, stopping either just before or just after the polishing step though I’d say just after is better. This is so the car can’t get dirty between wash and polish. Between polish and panel prep it isn’t as important because the panel prep is going to wipe everything away anyway.
Conclusion
I’m glad I took the time and spent the money to ceramic coat my cars, even the mini-van. I’d already invested in everything but time, so why not do more cars. I think I still have enough ceramic coating left over to put the 3 & 5 stack on my mom’s Fiat 500 Ev, so that is on the horizon. In a couple of weeks (from this writing) I’m also going to ceramic coat one of my best friend’s trucks, a Rivian. He is going to buy a few supplies to replenish what I have and get the 3 & 5 stack as well. Why not the 3 & 8? The 8 give the most durability, but the 5 has more gloss and that is what I was going for.
Now I have a new skill, cars to be proud of and a weekend activity to do with one of my best friends. For me the investment was worthwhile, especially as I do more cars for friends and family.
DIY Detailer – The whole process:
- Preparing the CHEVY SPARK for our best ceramic coating! Prep wash tutorial
- How to REMOVE scratches and BOOST gloss: “cut and polish” tutorial
- How to apply THE STACK: our 2-component ceramic coating
*I’m going to use the word car as a stand in for vehicle. Vehicle, while accurate, it sounds pretentious to say “vehicle” all through an article. So, when I say car I mean, Car, Truck, Motorcycle, Van, SUV, Minivan, Cargo Van, Pickup truck, Motorhome, RV, Boat and Jet Ski.
